Hiking El Capitan – the Yosemite icon – is a challenge that is both exhausting and incredibly satisfying. Of all the trails we took on in Yosemite, the El Capitan hike was the hardest, with a brutal start that is followed by a very long trail to the summit.
That’s probably why it was one of our favourites as the level of satisfaction you get when you reach the top is rivalled only by the Half Dome hike. Surprisingly it is also one of the quietest trails in the whole of Yosemite which only adds to its appeal.
Here’s all you need to know to take on the El Cap hike which should definitely be on your Yosemite itinerary.
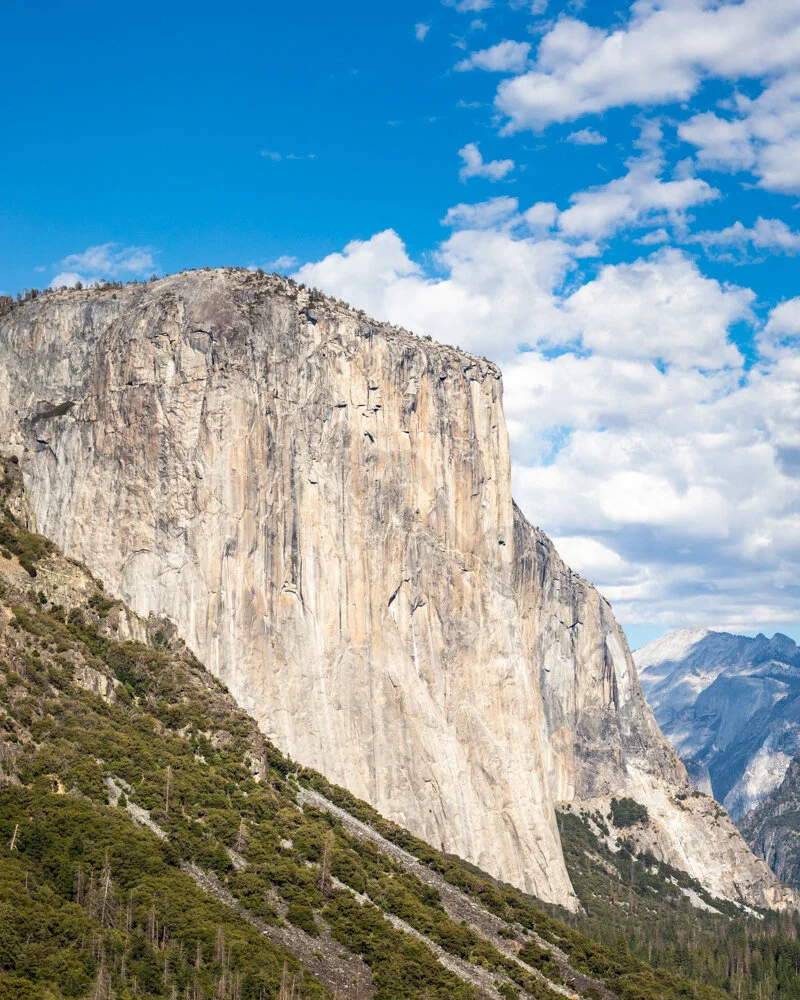
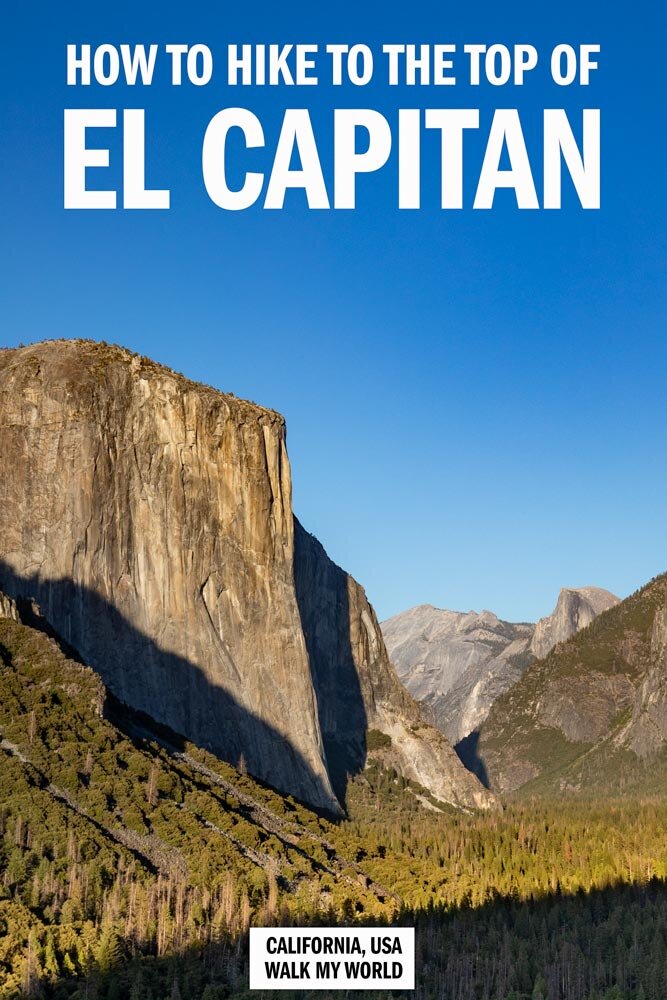
The El Capitan Hike - El Cap from Tunnel View
The El Capitan Hike
The El Capitan hike stats
Difficulty: Brutal (a new grade for us)
Distance: 19.4 miles (31.2 km)
Elevation: 5,219 feet (1,519 metres)
Time needed: 8 - 11 hours inc Eagle Peak side trail
Before you hike
The first thing to know before taking on the El Capitan hike is that you need to allow a full day. The quickest time to hike the trail is about 8 hours, but the average is between 10-12 hours. This is primarily because of the Upper Yosemite Falls Track - a brutally steep trail which is tiring on the way up and incredibly slippery on the way down.
There are two routes you can take up El Cap: the first being the one via the Upper Yosemite Falls Track and the second being via Old Big Oak Flat Road. Both trails are similar in length and elevation.
The Upper Yosemite Falls trail route is the most scenic but also the most heavily trafficked (at least along the first 3.5 miles) the Old Oak route is primarily through forest and is much quieter (there are just a handful of parking spaces at the trail head as opposed to hundreds down in the valley for the falls route).
There are also a number of side trails you can take which lengthen the route too, both trails have the option to visit Eagle Peak. The Upper Falls route has the option to see the falls and also Yosemite Point.
We chose to take the Upper Falls route as we wanted the most scenic option.
Read next: 16 mistakes to avoid in Yosemite National Park
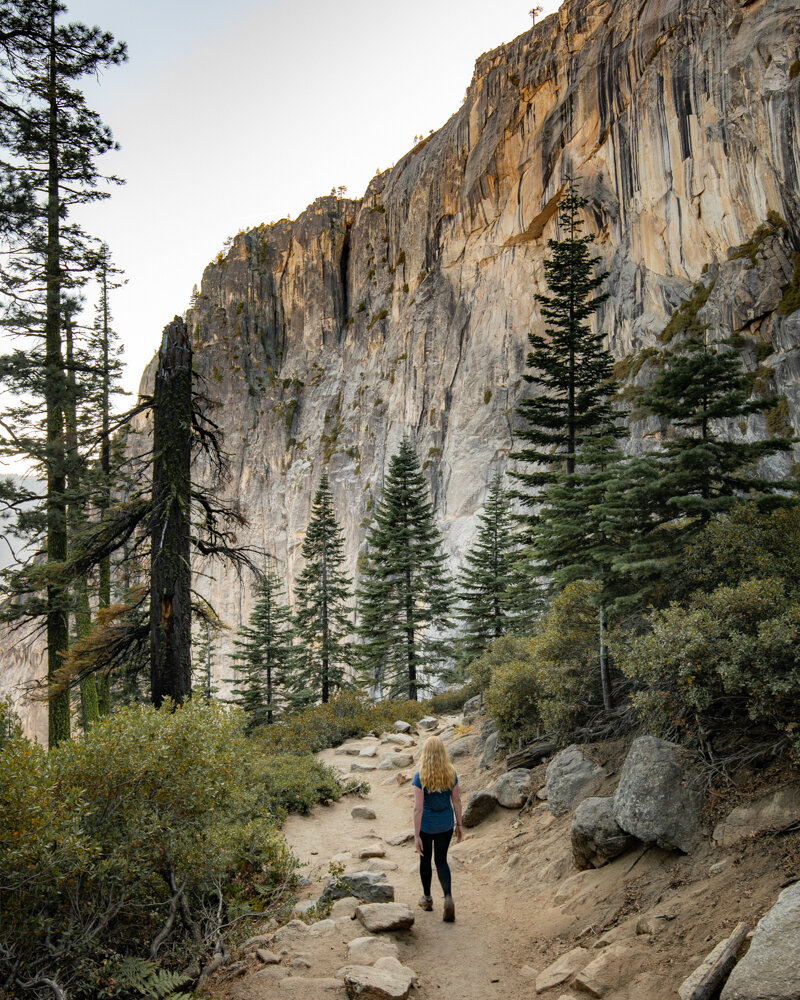
The start of the hike – to the base of Upper Yosemite Falls
Our hike began at Camp 4, the legendary rock climber’s campsite, and within just a few steps the climb had begun and didn’t really relent for another 3.5 miles. You begin climbing on a mixture of sandy slopes and uneven steps which are endlessly uphill but not too steep.
As you are walking predominantly on slopes rather than steps, it means you don’t exert as much energy, and there is plenty of opportunity to look around and take in the views of the valley, which get better and better the higher you go.
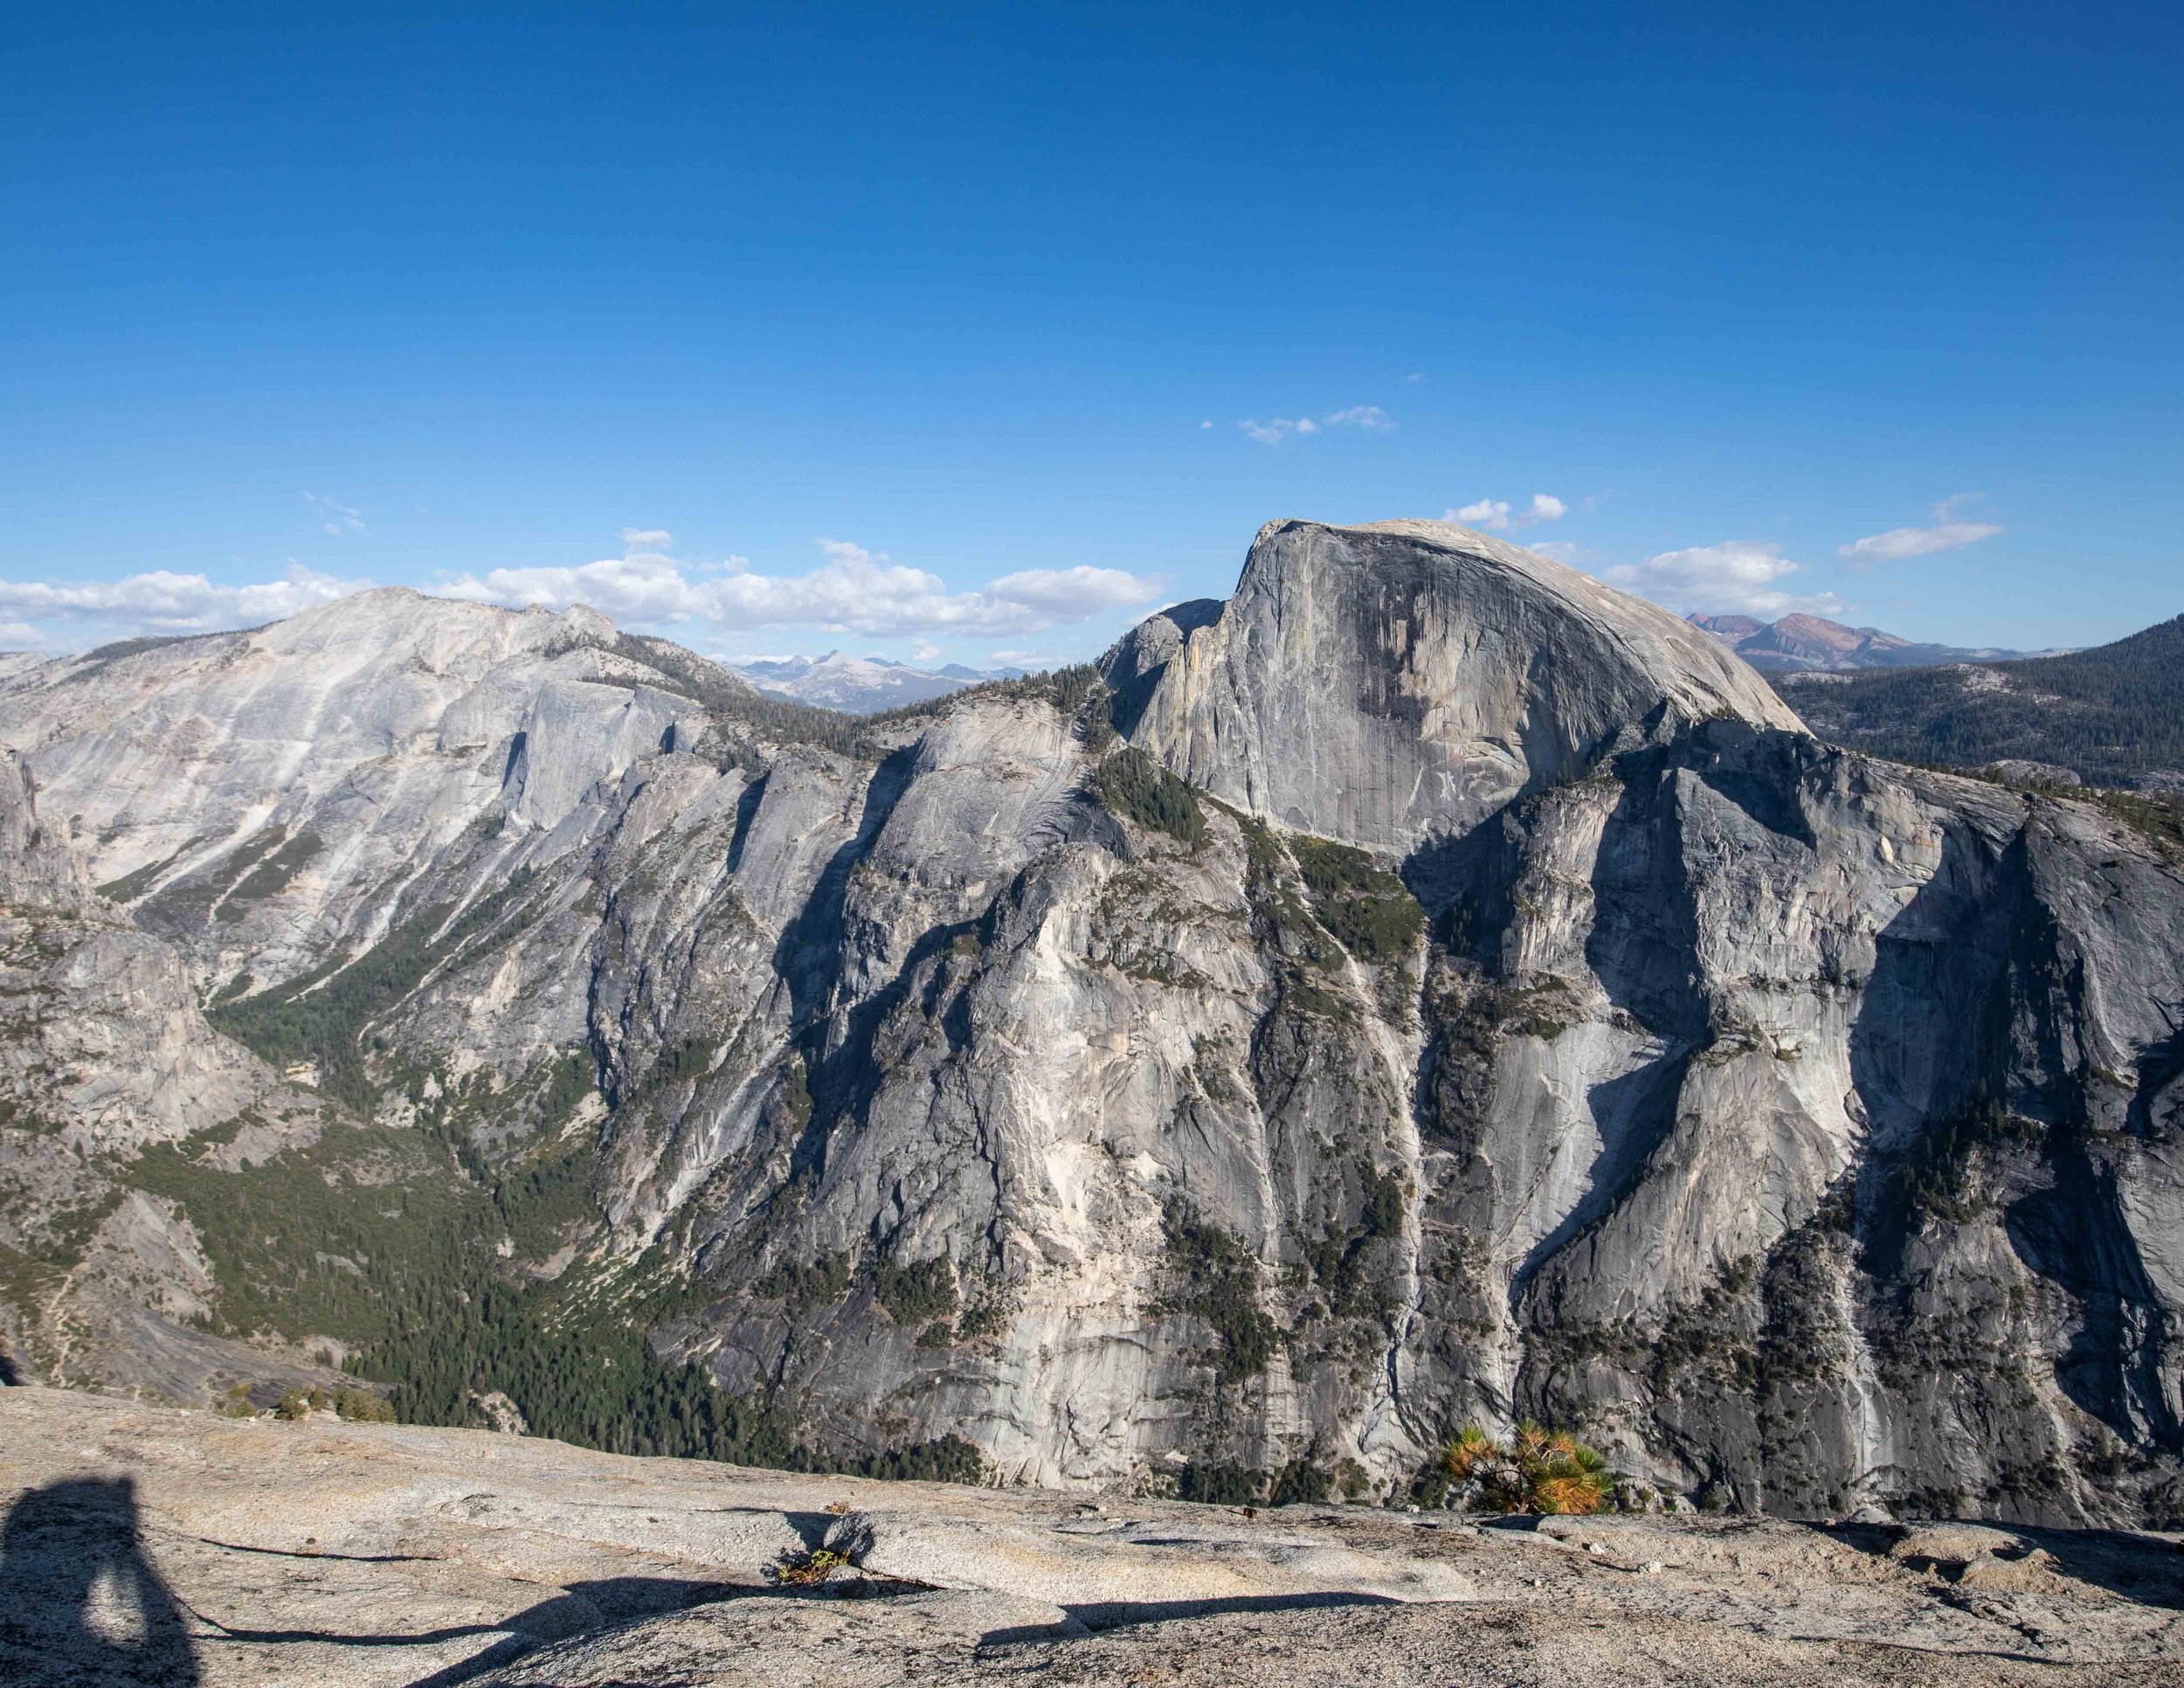
The lower section of the track is in forest, but after about half way the trail opens up to stunning views of the valley: at first facing Half Dome and then the Sentinel as you turn the corner.
The El Capitan Hike: Early morning camp fires and Half Dome from the trail
The first half of the Upper Yosemite Falls trail is relatively shallow when compared with what’s to come! After heading downhill for five minutes (something that feels incredibly disheartening) you reach the foot of Upper Yosemite Falls and see just how much higher you have to climb!
As you can see from the picture hiking this trail in the fall is not the best for water flow : )

The El Capitan Hike: where Upper Yosemite Falls should have been!
The second half is relentlessly steep and is the outdoor equivalent of a stairmaster. For at least an hour it’s a matter of one foot in front of the other, as you drag yourself to the top! Unless you’re super fit, be sure to take some breaks as you’ll need energy for the rest of the hike.
This section is steeper, much more slippery and had a few false summits which sap all the motivation out of you! In the morning it is also in the full glare of the sun, making you sweat buckets as well. Hike early if you can. We meant to, but started the trail at the wrong place (don’t ask!).
Needless to say, it is a harsh way to start a long hike! However, once you’re at the top of the falls, things get much easier.

El Capitan hike: The Upper Yosemite Falls Trail

Halfway on the Upper Yosemite Falls Trail
The path to Eagle Peak
At this point there’s good news and bad news. The good news is that the trail is in the shade, it’s not slippery and is much easier going. The bad news is that the uphill isn’t over!

The El Capitan Hike: the pine forest on the way to Eagle Peak
From the junction before Upper Yosemite Falls (where you can divert 0.2 miles each way to see the Upper Falls Lookout and one mile to see Yosemite Point), the trail heads up hill, but it is a lot more gradual. For a couple of miles, you’ll be in fairly dense forest which was some of the most beautiful we saw in Yosemite.
We were there in fall, and saw ferns and various plants beginning to turn yellow, making it an even more interesting scene than usual.
After 2.2 miles you’ll reach the turning for Eagle Peak. We recommend checking it out as the views from the peak are the best on the trail.
Read next: The best places for sunset in Yosemite

El Capitan Hike: Fall colours in the forest
Eagle Peak side trail
The sign at the turnoff is a little misleading, suggesting that the lookout is only 0.3 miles away!
We hiked for 0.6 miles (each way) to get to the top of the peak, hiking uphill and then scrambling up rocks to reach the final point. It might not sound like a big addition but it’s an extra 1.2 miles on an already long hike!

The scramble to Eagle Peak on the El Capitan hike
The path gets very narrow in sections but the scrambling is not difficult. The views of the valley and Half Dome are incredible, one of the best in the park, and considerably better than those at El Cap, which is why we highly recommend taking the detour.
It’s a great place to have a break or some lunch.
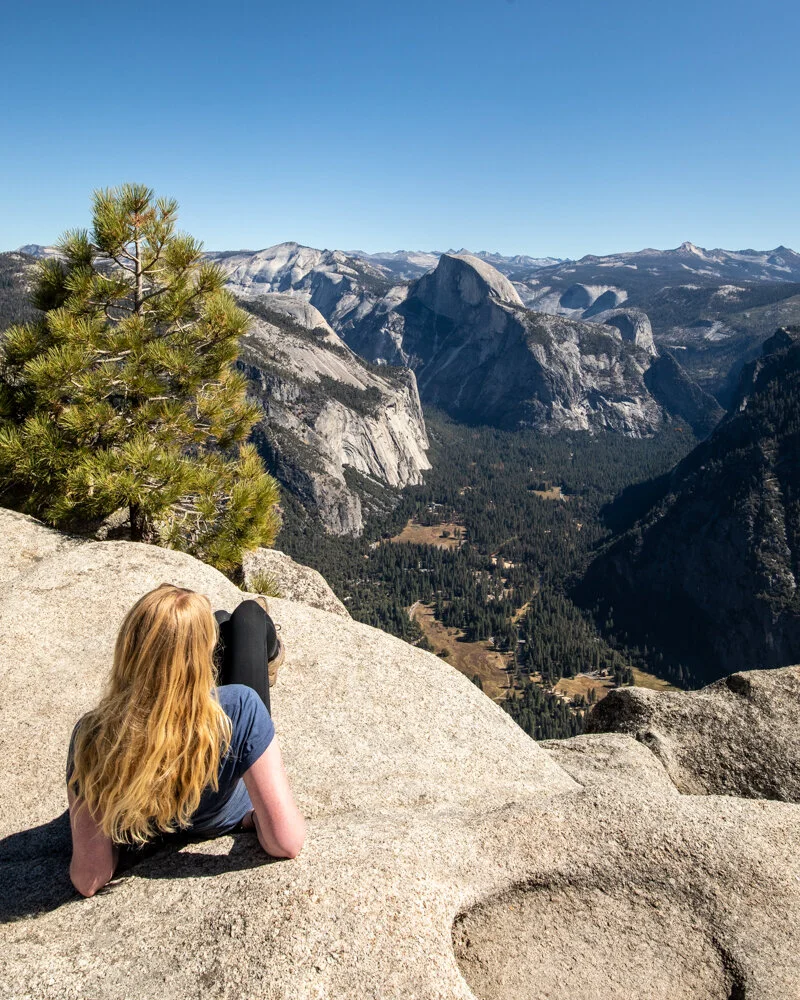
The El Capitan hike: the views from Eagle Peak
Read next: The best hikes in Death Valley National Park
Onwards to El Cap
Once you rejoin the path there is a morale sucking section which shoots sharply downhill. However, the path doesn’t go up much afterwards, so don’t be disheartened thinking there will be a sharp steep section coming: there isn’t.
The trail undulates quite a bit in the final couple of miles to El Cap, continuously going up a little and down a little, through forest and sometimes opening to exposed rocky sections. The rock is grippy and there are no sheer drops, so there’s nothing to worry about.
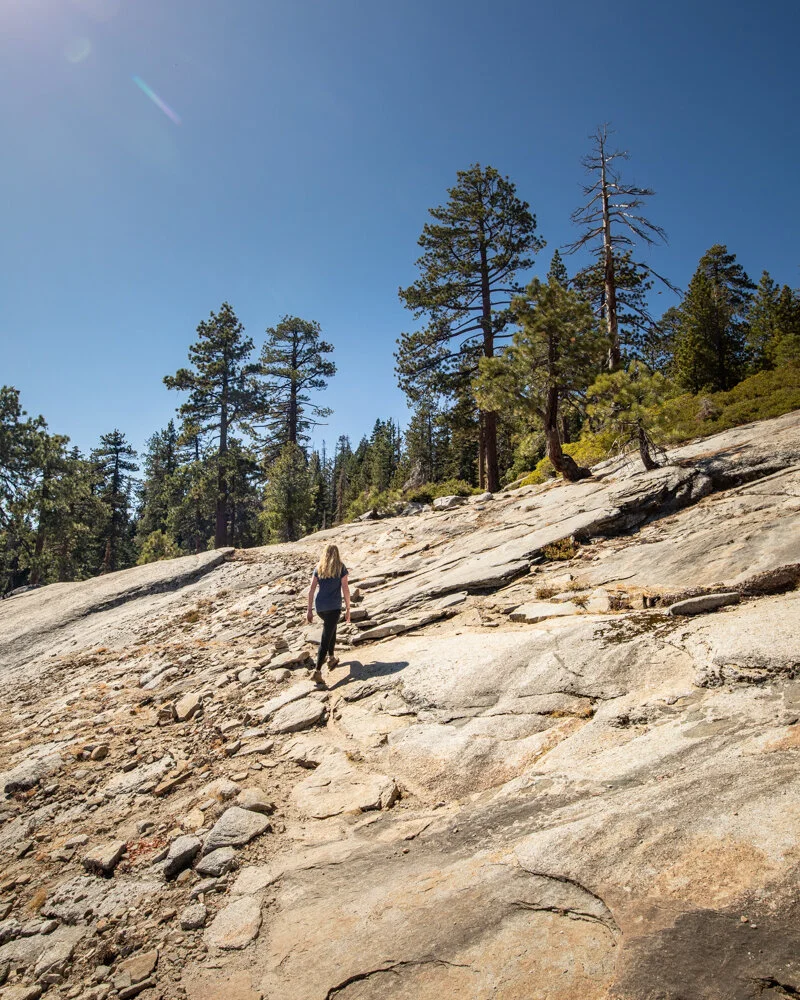
Some of the trail on the way to the summit of El Capitan
About 0.5 miles from the summit is a small creek where you can fill up your water so long as you have a filter - we don’t recommend drinking from here unless you have one! It’s impossible to miss as it makes the path muddy.
We were visiting in the fall and this was the only place we could refill our water bottles. Normally on the trail there are several sources allowing you to carry less with you at any one time.
Read next: The best hikes in Joshua Tree National Park
El Cap summit
From the creek it’s a short hike to the summit which is a strange place. The top of El Capitan is really wide, it feels like you’ve got to the top of a hill rather than the huge granite monolith and you’re a long way away from the edge.
Follow the cairns and head south (or away from the forest) to see better views from El Cap. The path will shoot downhill and it can get really steep. Only go as far as you feel comfortable knowing that every step you make downhill you have to come back up again!
But even if it wasn’t our favourite summit, it was definitely a great feeling, making it to the top of Yosemite’s iconic El Cap! We chose to celebrate and enjoy the view under one of the few trees offering a bit of shade.

The furthest point you can walk to!

The views from the summit of the El Cap hike
The descent on the El Capitan hike
The good news is that the hard work is done. There are no more steep or brutal climbs left, and with the adrenaline of getting to the top of El Cap we felt like we flew down the trail back to the Upper Yosemite Falls junction.
The trail felt a lot flatter and more straightforward in this direction. After less than two hours we’d reached the Upper Yosemite Falls Trail and were met with the worst part of the hike. Yep, worse than the steep uphill.
If you thought getting up the Upper Yosemite Falls trail was hard, wait until you try to get down. Hiking down this relentlessly steep trail is exhausting at best and scary at worst.
The reason for this is because the trail has a lot of smooth paving that is covered in slippery grit and sand. This means that you need to take care with every step, all the way down to the bottom. Everyone was slipping and sliding on this trail and if you don’t mind that sort of thing it will be fine but it is the kind of descent we really hate!
It is relentless and one of the least enjoyable sections of hiking we’ve ever done. By the bottom our knees and legs were in agony from the sheer effort required not to fall over.
Add in a lot of people on this section of trail and you get a really unpleasant experience.
However, once you’re at the bottom all is forgotten as you’ve just completed one of the toughest hikes in Yosemite!
Essential information about the El Capitan Hike
El Cap hike difficulty
It’s a long strenuous hike but there’s no real scrambling or tricky sections, aside from the descent from Upper Yosemite Falls which we hated (to be fair this is a popular trail in itself and you might not find it so bad!).
You’ll need a good level of fitness, as the shortest route to El Cap is around 18 miles return, but this will mean missing the best views at Eagle Peak. If you want to see the Upper Yosemite Falls Lookout and Yosemite Point you can add another couple of miles to this.
There is good terrain on almost all the hike though, so that makes for quicker walking than many mountain trails we’ve hiked.
The best time to start the El Capitan hike
The best time to start is early in the morning. If you can get up the Upper Yosemite Falls Track before the full heat of the sun starts to bake you, it is going to be much easier. It will also mean that you have oodles of time to take breaks and get back down the mountain long before dark.
Having said that due to a mishap we started at 10am and still made it in the fall with a fairly early sunset but we wouldn’t recommend it.
Where to start the El Capitan hike
I can only blame this on severe tiredness but we started the hike in the wrong place. We thought you could get to Upper Yosemite Falls from Lower Yosemite Falls and wasted ages and additional miles looking for the route. Cringe.
The hike starts at Camp 4 and there’s a public car park across the road from it (you can’t park in Camp 4 unless you are staying there).
Packing Suggestions for El Capitan
Around half the hike or so is exposed so you might want to bring a hat. We’d recommend lots of snacks and a decent amount of water (a lot of water if you don’t plan on filling up at the creeks).
In fall lots of the creeks are running dry and we couldn’t fill up until one mile before the El Cap summit. In other seasons there should be many more water sources. We’d recommend bringing a life straw as it makes any water from a creek into safely drinkable - you can check them out REI or Amazon.
Trekking poles can make the descent easier on your knees.
Day Pack: Osprey Talon 22 (we’ve owned this for years). Check on Amazon, REI or direct with Osprey
Hiking Boots: Merrell Moab (for men and women). We’ve both used these for over three years and they just keep going. Check them out on REI or Amazon
Trekking poles: We’ve used Black Diamond for years as they are light, solid and durable. Check out REI or Amazon.
Reusable water bottle: To avoid single-use plastic. Check then out on REI or Amazon
This post may contain affiliate links, meaning at no additional cost to you, that we will earn a small commission if you click through and decide to make a purchase. This helps towards the costs of running our website. :-)
Like it? Pin it!

Follow us on social media
Are you planning a trip to Yosemite? Would you take on the El Capitan hike? Let us know in the comments below!